so as you may or may not recall, in the back room (music room) of the house, there were two doors on the side as you entered from the den. one went to a laundry room that was so small, you couldn't open the door on the dryer without it hitting the wall. the second door led to an over sized, walk-in closet. i decided to make better use of the space by ripping out the laundry room doorway, dividing wall, and all the flooring.
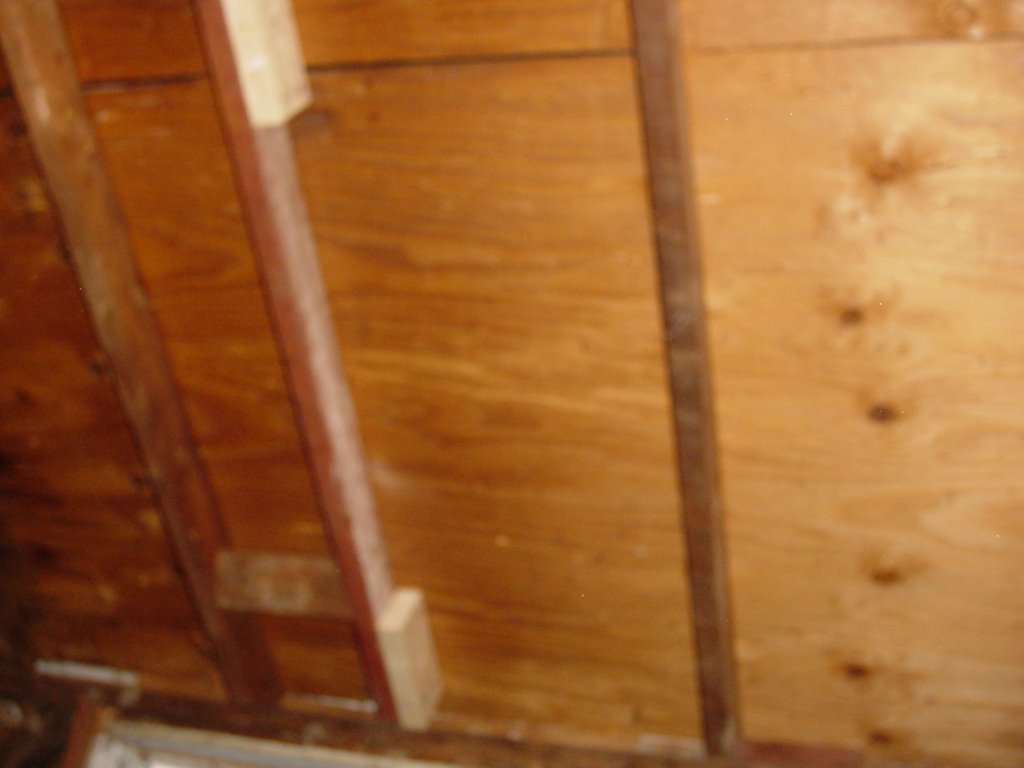
here is a shot inside the laundry room doorway after i had ripped out the drywall and trim covering the dividing wall:

yes, the space between the wall and appliances was the width of a step ladder.
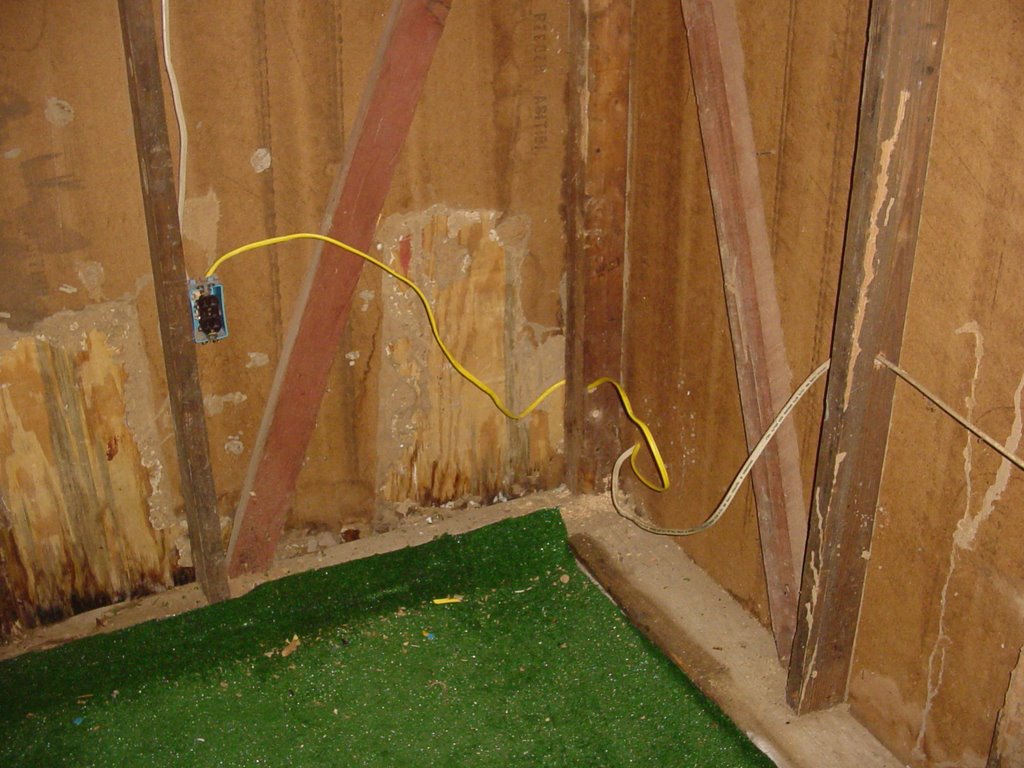
here is a shot in from the closet doorway:

looks like i had already ripped out a stud at this point. the sill plates were actually very difficult to move, but after some pulling and pounding, i got them out of there.
mess 1:

and mess 2:

alway so much fun to make. never so much fun to clean up.
and here's a shot back in after everything was removed:

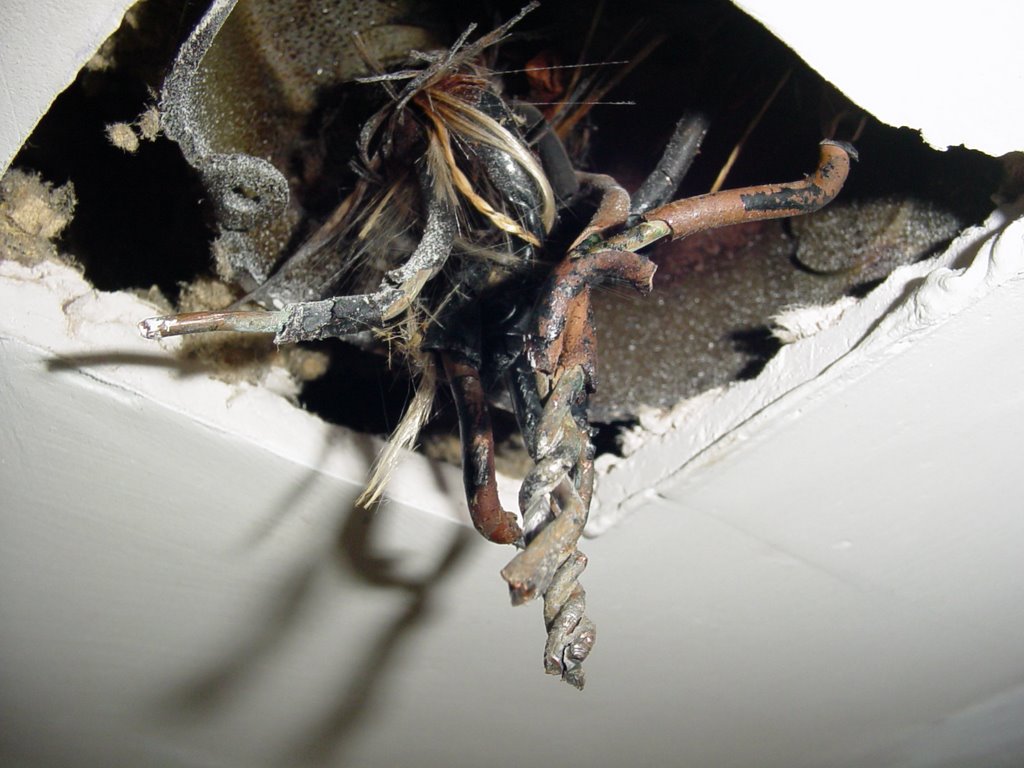
note: i need to put new ducting in that will blow into the new laundry room and into the music room. there was previously no direct heat or air going into the room because the duct had collapsed within the dividing wall thanks to the "handywork" of the previous owner. you can see the ugly carpet on the left and nasty vinyl on the right, some loose wires, paneling, etc. it all get ripped out.
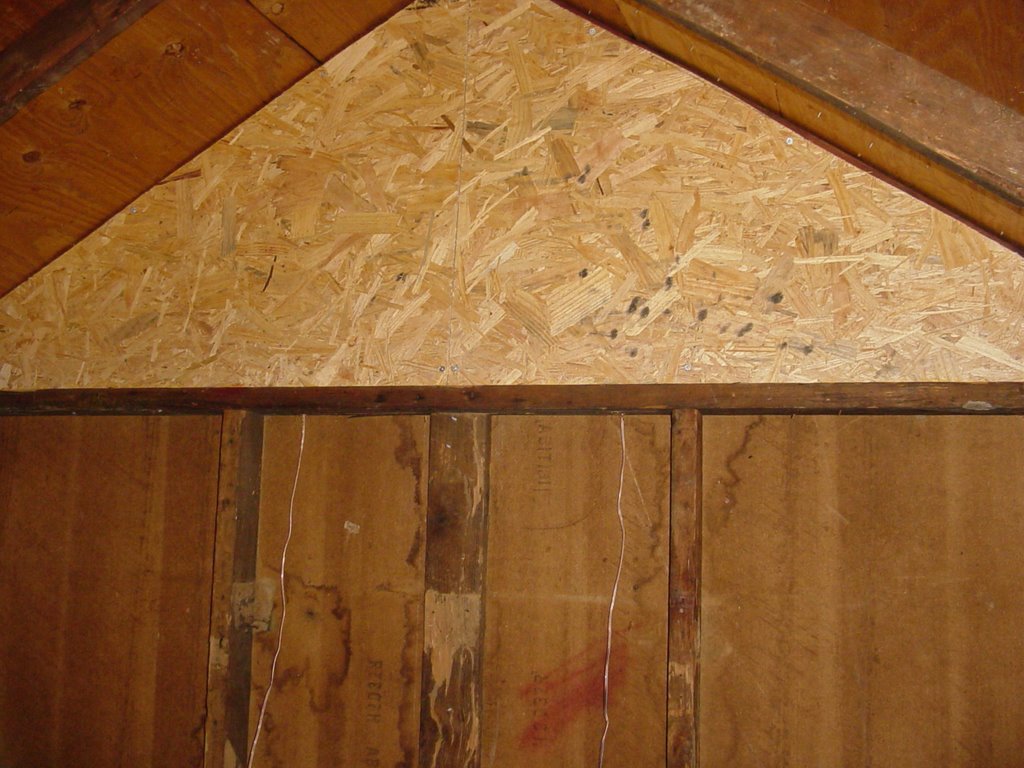
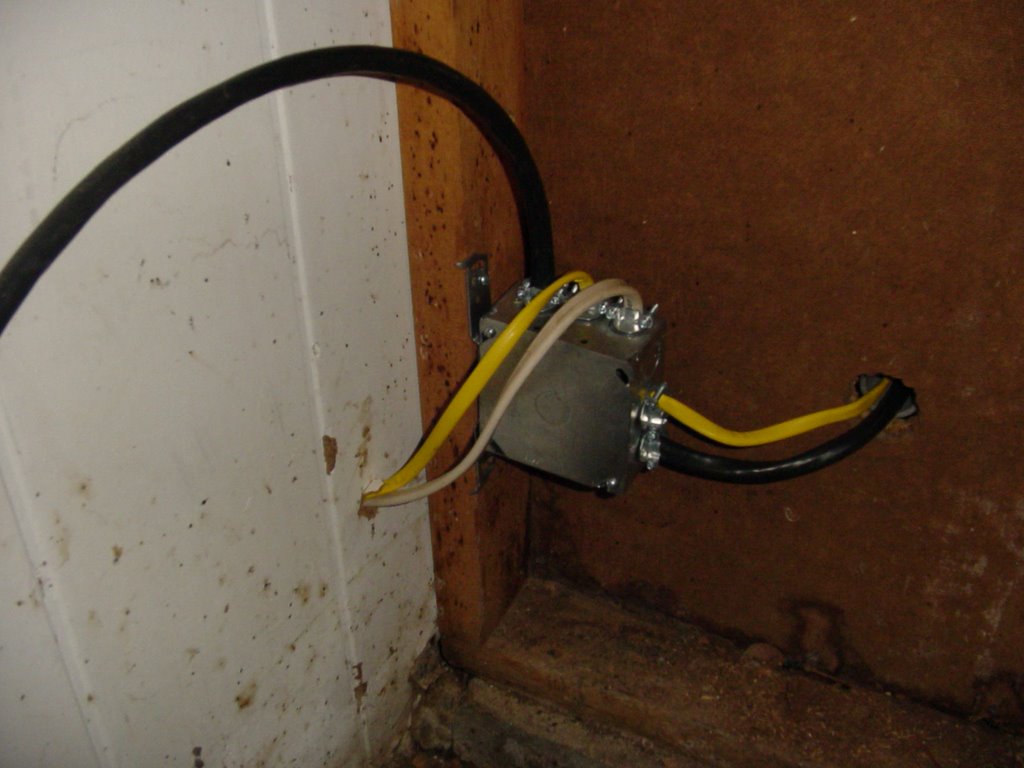
here is the outside:

you can see i ripped the wood paneling off and exposed the drywall. unfortunately, the whole room wasn't drywalled underneath the paneling and i didn't want to mess with the trim or i would have ripped down all of the paneling. instead, i recovered it and painted it all eggplant (those pics are coming). that mess of wires is from the security system, which was a complete bitch to conceal. did i mention i was not a fan of the original owner's "work". yes? just checking.
here is a shot of the floors scraped clean before i put the flooring down:

i am so sick of pulling up flooring i can't even begin to fully express it.
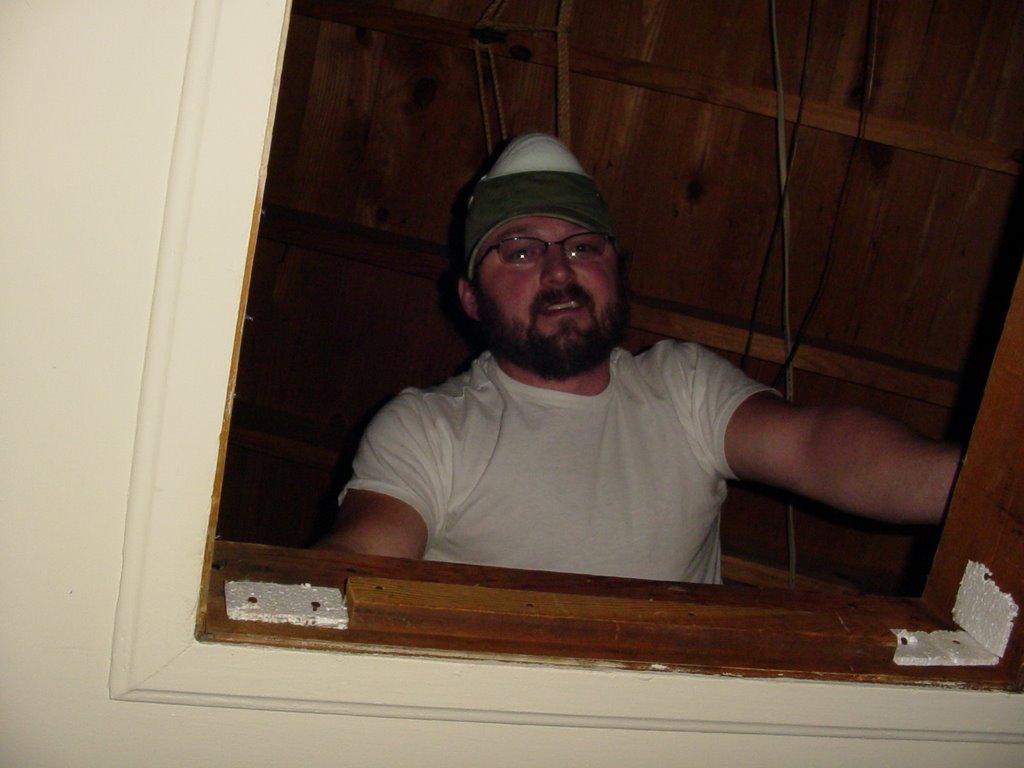
here is a pic Double E snapped of me putting down the flooring:

this is actually sticky vinyl strips of faux cherry wood. i had never used anything like this before, but it is surprisingly good-looking, very inexpensive, and quite easy to install. i wouldn;t use it for common areas of my home, but for something like a laundry room, it's pretty much perfect.
see what i mean?

this turned out to be a really great choice for this room. i would definitely use this stuff again for a similar application. it's also extremely low maintenance and easy to replace. i feel like Armstrong should be paying me for this ringing endorsement.
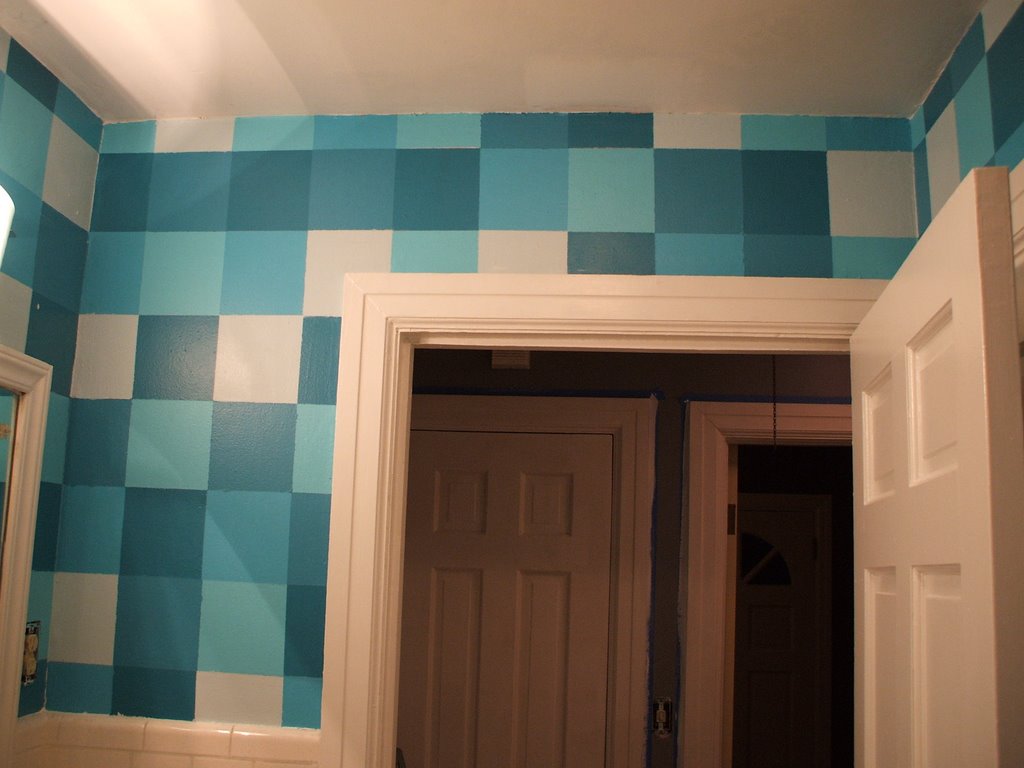
and here's a shot of the old doorway after i had reframed and drywalled it, then covered it all with the hideous paneling:

and a final shot from the inside:

this is just before i rehung the "closet" door, which was a 36" ( the laundry room was 32"), which is great if i ever need to swap out the washer and dryer or move anything large in here.
that's pretty much it. i still have some drywall, mudding and light electrical work to do before it is complete, which i am hoping to get to this weekend. once that's done, we'll do some cosmetic stuff to it with paint, lighting, shelving and some artwork ideas i have. i told Double E that i want this to be the hippest laundry room ever ... which is totally unnecessary, since we spend about 20 minutes a week in there. anyway, this is where we now do laundry and store things, like the vacuum cleaner.